Ingredients
Method
Step 1: Preheat the Oven
- Start by preheating your oven to 350°F (175°C). While the oven warms up, you can prepare the filling and the topping. This will ensure that the crisp bakes evenly and your kitchen fills with that mouthwatering aroma.
Step 2: Prepare the Apples
- In a large mixing bowl, combine the chopped apples with granulated sugar, ground cinnamon, fresh lemon juice, and optional nutmeg. Toss to coat the apples evenly. This step is crucial as it allows the flavors to meld and the apples to release their juices while baking.
Step 3: Assemble the Filling
- Spread the apple mixture evenly in a greased 9x13 inch baking dish. Make sure it’s well distributed, so every part of the dish gets a taste of that deliciousness.
Step 4: Make the Crisp Topping
- In another bowl, combine the brown sugar, oats, flour, ground cinnamon, and a pinch of salt. Mix thoroughly. Next, add the cold butter cubes. Use a pastry cutter or your fingers to work the butter into the dry ingredients until the mixture resembles coarse crumbs. If using pecans, fold them in gently.
Step 5: Combine and Bake
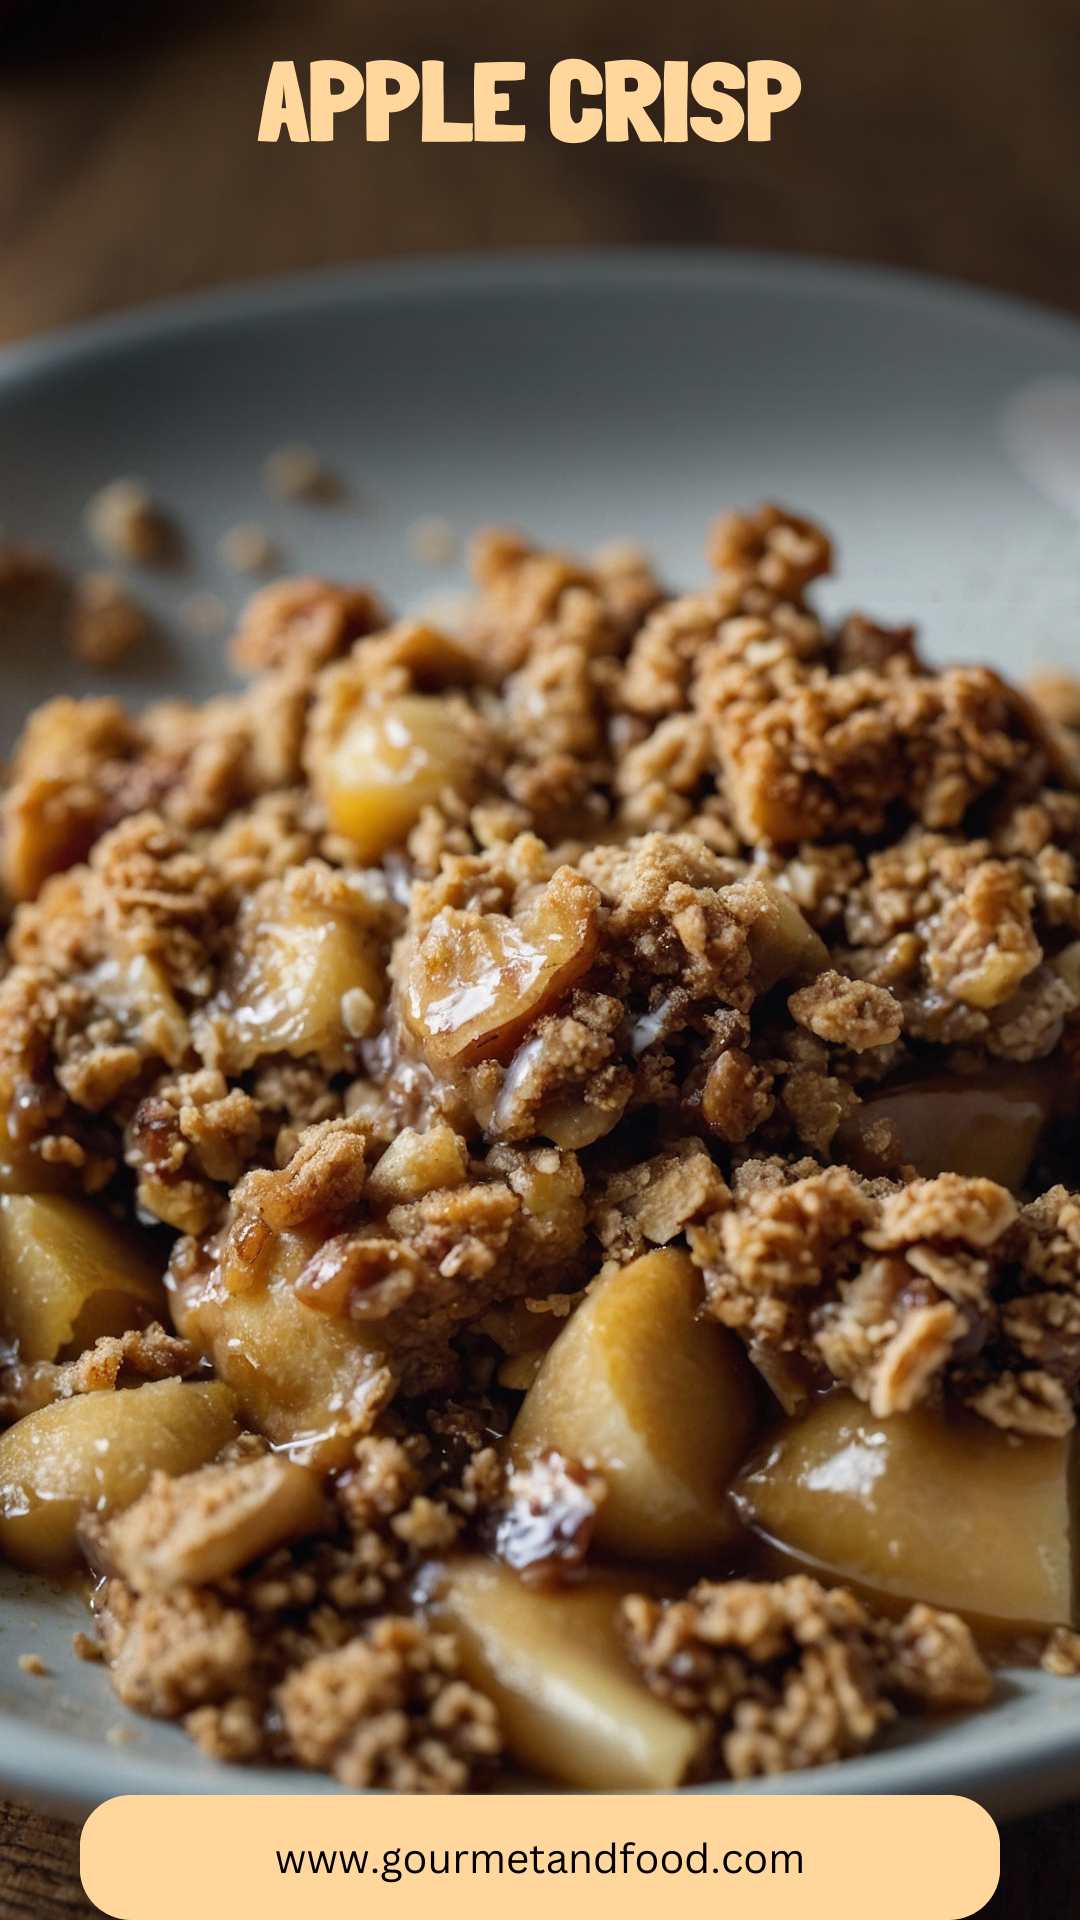
- Evenly distribute the topping over the apple filling in your dish. This crisp layer is where the magic happens. Bake in the preheated oven for about 40-45 minutes, or until the topping is golden brown and the apples are bubbly.
Step 6: Cool and Serve
- Once out of the oven, let the apple crisp cool slightly before serving. This cooling time allows the juices to settle, making it easier to scoop and serve.
Notes
Choose the Right Apples: A blend of sweet and tart apples, like Golden Delicious and Granny Smith, provides a rounded flavor.
Experiment with Spices: Feel free to add a pinch of ground ginger or allspice for added warmth.
Let It Rest: Allow the crisp to sit for about 10-15 minutes after baking. This will help it set up nicely.
Serve Warm: Apple crisp tastes best when served warm, especially with vanilla ice cream on top.
Make Ahead: You can prepare the apple filling and topping separately a day in advance. Just assemble and bake when you're ready to impress guests.